


Yaskawa Motoman MPL series robots feature a linear-type mechanical arm with high-speed movement capabilities and precise positioning abilities. They are also capable of adapting to different load weights. Among them, the MPL800 robot has a payload capacity of 800kg and a maximum reach of 3159mm. It achieves a larger stacking range compared to other robots in its class through the combination of the L-arm and U-arm lengths. However, replacing components, especially the gearbox of the S-axis, can be challenging and requires highly skilled and experienced technicians.

Inspection and Replacement Steps:
When performing the following steps, it is crucial to adhere to safety protocols and follow Yaskawa's specific maintenance manuals and operating guidelines for the replacement procedure.
Ensure the robot is in a safe state, power off, and lock it. Then, carefully remove the end effector connected to the robot's one-axis, following the instructions in the operating manual. Ensure the safety of the personnel during the removal process, avoiding any accidental sliding or dropping of the end effector.

Disconnect the power and communication cables that connect the robot body, carefully label and remove all cables connected to the robot body, including power cables, data cables, and sensor cables. When removing the cables, ensure accurate documentation of the cable connections, enabling precise reinstallation later.

Use lifting equipment to lift the robot body. Following the manual instructions, gradually remove the screws securing the robot body, and separate the body from the gearbox with caution. Ensure the stability of the lifting equipment, avoiding any damage to the robot or gearbox. When removing the screws, follow the correct sequence to prevent unnecessary stress on the equipment.

Identify and disconnect the connections between the gearbox and the robot axis, which may involve disassembling bearings, gears, and other components. Use appropriate tools during the disassembly process, avoiding damage to the parts. Also, ensure that all disassembled parts are properly stored to prevent loss or damage.

Thoroughly clean the installation area of the robot body and gearbox, ensuring there is no dust, oil residues, or other impurities. Then, follow the installation instructions for the new gearbox. Install the new gearbox according to the manufacturer's guidelines, ensuring all components are properly installed, lubricants are applied evenly, and fasteners are tightened to the specified torque.

Reconnect the previously removed cables and end effector to the robot body. Perform a system reset according to the operating manual, power on the robot, and conduct initial functional testing. Calibrate and fine-tune the robot system to ensure the correct installation of the gearbox and normal robot motion. During the testing process, carefully inspect the smoothness of the robot's movements, check for abnormal gearbox noises, and ensure that all functions are working correctly. If any issues are detected, make necessary adjustments or seek professional assistance.

Difficulty analysis:
Explore the Full Guide: Industrial Robot Knowledge Hub → Repair & Troubleshooting Cluster
Explore the complete guide for troubleshooting, repair strategies, and component replacement across industrial robot systems.
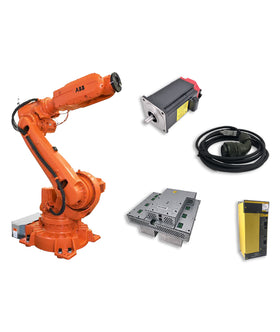
Key components commonly involved in repair guides issues and replacements.


{"one"=>"Select 2 or 3 items to compare", "other"=>"{{ count }} of 3 items selected"}
Leave a comment on this topic